Commercial Fit-Out Guide: Removing Old Fixtures and Preparing Spaces
.jpg)
Commercial property transformations begin long before new installations commence, with thorough removal of existing fixtures and surface preparation.
The quality of this preparatory work determines whether subsequent fit-out phases proceed smoothly or face costly complications. Understanding proper removal techniques and preparation standards ensures commercial spaces achieve their full potential.
The Importance of Proper Preparation
Commercial fit-outs represent substantial investments requiring solid foundations for success. Rushing into new installations without adequate preparation creates problems that persist throughout tenancy periods. Taking time to properly clear and prepare spaces pays dividends through superior final results.
Previous tenants leave behind fixtures, anchoring systems, and surface damage that must be addressed comprehensively. Overlooking these remnants creates obstacles during new fit-out installation phases.
Thorough preparation creates blank canvases ready for transformation according to new design visions.
Building owners benefit from proper preparation through enhanced property appeal and tenant satisfaction.
Quality preparation demonstrates professional property management standards that attract desirable tenants. These efforts protect long-term property values while supporting successful tenancies.
Assessing Existing Conditions
Comprehensive site assessment identifies all removal and preparation requirements before work commences.
Walking through spaces systematically documents existing fixtures, damage, and conditions requiring attention. This assessment guides accurate budgeting and scheduling for preparation phases.
Wall-mounted fixtures, including shelving, signage, equipment, and decorative elements, require removal and surface restoration.
Each installation type presents specific removal challenges depending on mounting methods and materials. Cataloguing these items ensures nothing is overlooked during preparation planning.
Floor conditions, including embedded anchors, adhesive residues, coatings, and damage all require assessment. Previous tenants often leave numerous floor penetrations from equipment, racking, and fixtures. Understanding the floor preparation scope prevents surprises that delay subsequent installation phases.
Ceiling systems, including suspended tiles, lighting fixtures, and mechanical attachments, need evaluation. Outdated or damaged ceiling components may require replacement rather than simple cleaning. Assessment determines whether existing systems suit new fit-out requirements.
Removing Wall-Mounted Fixtures

Bracket and shelf removal leaves behind mounting holes, anchors, and often surface damage requiring repair. Careful removal minimises additional damage while extracting fixtures completely. Rushed removal frequently enlarges holes and damages surrounding surfaces unnecessarily.
Signage removal presents particular challenges when adhesives, mechanical fasteners, and surface finishes intertwine. Ghost images from removed signage may require extensive surface treatment to eliminate. Planning for these cosmetic issues ensures walls achieve a uniform appearance.
Equipment mounting points often involve heavy-duty anchoring systems embedded deeply in structural elements.
These industrial fasteners require specialised removal techniques, preventing concrete or masonry damage. Professional removal ensures surfaces remain suitable for new installations or finishing.
Electrical and data fixtures leave behind junction boxes, conduit penetrations, and wiring requiring proper handling.
Licensed electricians should disconnect and make safe any electrical components before removal proceeds. Safety considerations must guide all electrical fixture removal activities.
Floor Preparation Challenges
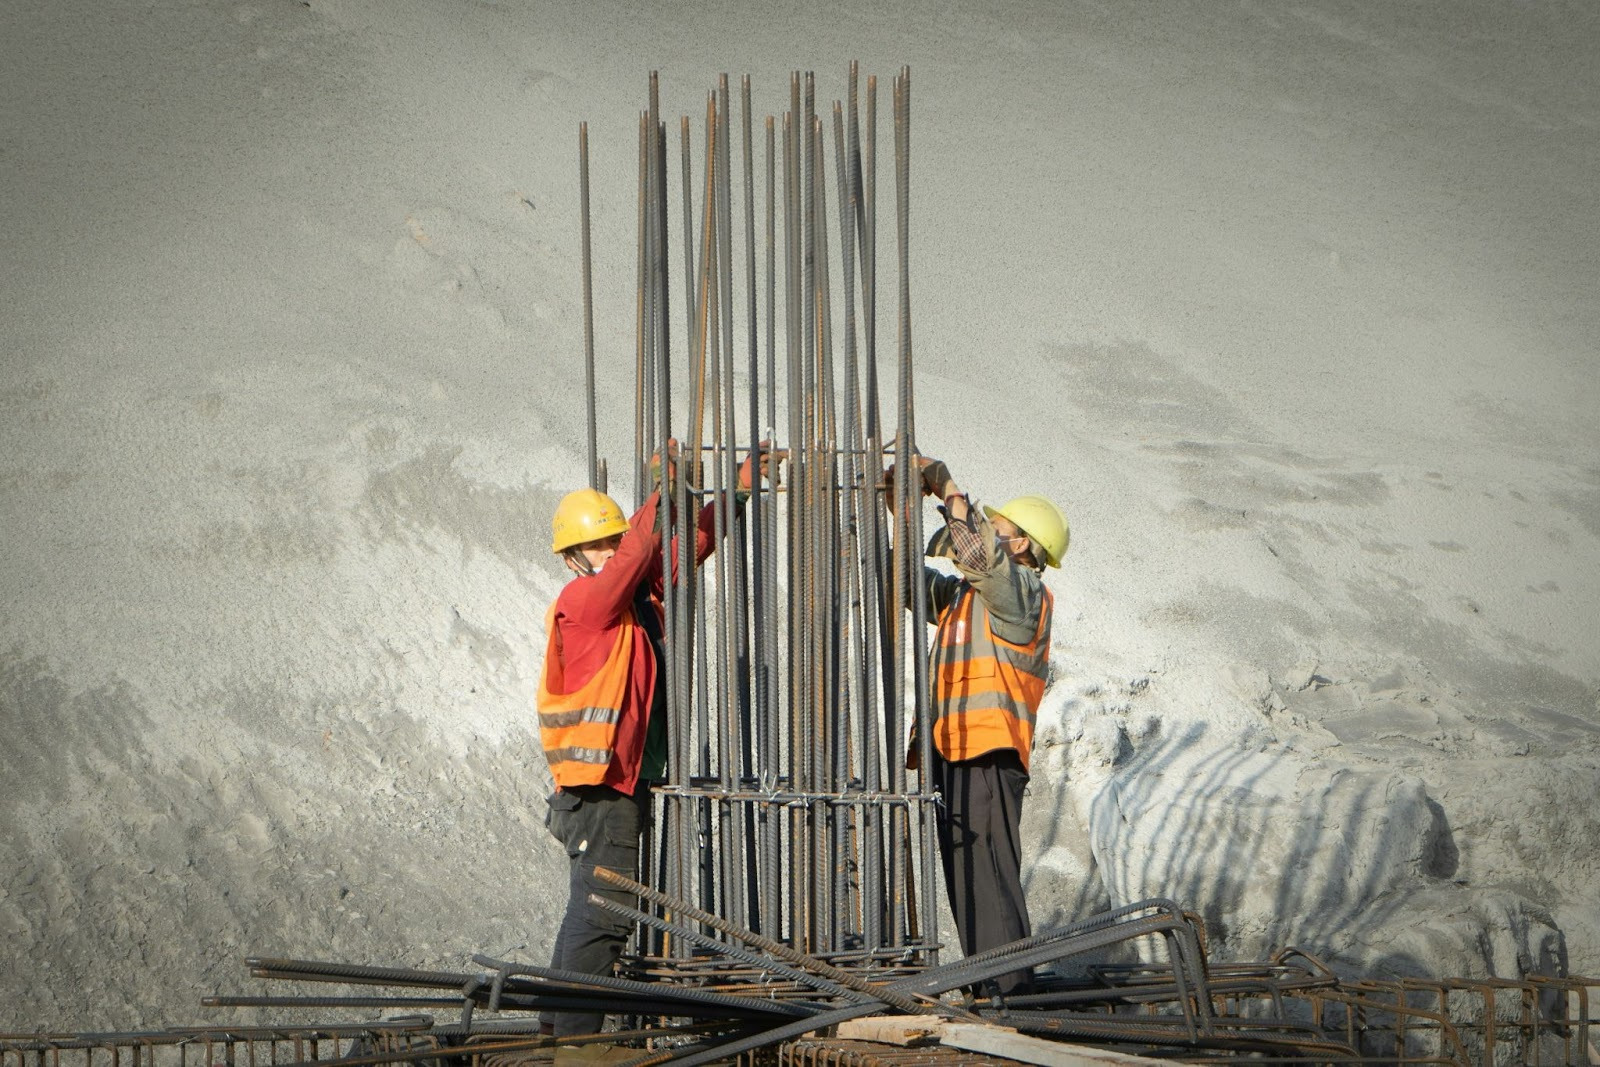
Commercial floors accumulate extensive anchoring systems from years of equipment and fixture installations.
Racking systems, machinery mounts, safety barriers, and partition walls all leave embedded fasteners behind. These remnants must be removed before new flooring or installations can proceed.
Professional dynabolt removal services extract embedded concrete anchors without damaging surrounding floor surfaces.
These specialists use techniques that remove fasteners cleanly while preserving concrete integrity. Their expertise prevents the cracking and spalling that amateur removal attempts frequently cause.
Adhesive residues from previous floor coverings create significant preparation challenges. Carpet adhesives, vinyl glues, and coating residues all require removal before new finishes can be applied successfully. Various removal methods, including grinding, chemical treatment, and scraping, suit different adhesive types.
Surface grinding levels uneven areas while removing coatings, adhesives, and surface contamination.
This mechanical preparation creates uniform substrates ready for new floor installations. Grinding also opens concrete pores, improving adhesion of subsequent coatings or overlays.
Crack repair addresses structural and cosmetic defects before new flooring conceals underlying conditions.
Filling cracks prevents telegraphing through thin floor coverings while maintaining structural integrity. Proper crack treatment ensures repairs remain invisible beneath finished floors.
Concrete Anchor Removal Techniques
Embedded anchors, including dynabolts, sleeve anchors, and chemical anchors, present common removal challenges.
Each anchor type requires specific removal approaches matching its installation mechanisms. Understanding these differences prevents damage from inappropriate removal techniques.
Cutting and grinding remove anchor heads, allowing floor coverings to proceed over the remaining embedded portions.
This approach suits situations where complete removal proves impractical or unnecessary. Surface-level removal provides flat substrates without disturbing the surrounding concrete.
Complete extraction removes entire anchors, leaving holes requiring filling and finishing. This thorough approach suits areas requiring pristine surfaces or where remaining anchors would interfere with new installations.
Extraction techniques must match anchor types to prevent concrete damage.
Core drilling removes anchors along with surrounding concrete cylinders when other methods prove inadequate. This aggressive approach suits severely corroded or damaged anchors resisting conventional extraction. Resulting holes require filling with matching repair materials.
Hydraulic extraction pulls anchors from concrete using a controlled force applied through specialised equipment. This technique minimises surrounding damage while achieving complete anchor removal. Professional equipment and operators deliver superior results compared to improvised approaches.
Ceiling Preparation Requirements
Suspended ceiling removal generates substantial debris requiring organised handling and disposal. Systematic removal prevents damage to salvageable components while managing waste efficiently. Planning debris handling before removal commences streamlines operations considerably.
Grid system evaluation determines whether existing frameworks suit new ceiling plans or require replacement. Damaged, corroded, or incorrectly spaced grids may need complete removal. Salvageable grids cleaned and adjusted often accommodate new tile installations economically.
Above-ceiling inspection reveals conditions hidden by previous installations, including damaged services, contamination, or structural issues. This investigation should occur before committing to ceiling system decisions. Discovering problems after a new ceiling installation proves extremely costly.
Lighting fixture removal requires electrical isolation and careful handling of potentially fragile components. Fluorescent tubes particularly require proper handling due to mercury content and breakage hazards. Disposal must follow environmental regulations governing various lamp types.
Surface Repair and Finishing
Patching holes from removed fixtures restores surface integrity and appearance. Matching repair materials to existing substrates ensures patches blend invisibly after finishing. Proper patching techniques prevent shrinkage cracks and adhesion failures.
Skim coating creates uniform surfaces over patched and damaged walls, ready for painting or covering. This thin plaster application conceals repair work while providing smooth, consistent substrates. Quality skim coating dramatically improves the final finish appearance.
Sanding and smoothing prepare repaired surfaces for primer and paint application. Adequate preparation ensures finishes adhere properly and appear uniform. Rushing this phase shows clearly through completed paintwork.
Priming seals repairs while providing consistent bases for topcoat application. Appropriate primer selection matches substrate types and intended finish systems. Skipping primer invites adhesion failures and uneven finish appearances.
Waste Management Considerations
Demolition and removal activities generate significant waste requiring proper handling and disposal. Segregating materials by type enables recycling while ensuring appropriate disposal of hazardous items. Waste management planning should precede removal activities.
Hazardous materials, including asbestos, lead paint, and certain chemicals, require specialised handling and disposal. Testing identifies these materials before disturbance spreads contamination. Licensed contractors must handle confirmed hazardous materials according to regulations.
Recycling opportunities exist for metals, clean concrete, timber, and various other construction materials. Diverting recyclable materials from landfills reduces disposal costs while benefiting the environment. Establishing recycling arrangements before demolition maximises diversion rates.
Skip bin sizing and scheduling match waste generation rates, preventing overflow and access problems. Underestimating waste volumes causes work stoppages awaiting bin exchanges. Adequate waste handling capacity maintains project momentum throughout removal phases.
Scheduling and Coordination
Preparation phase scheduling must accommodate subsequent fit-out activities without creating delays. Understanding dependencies between preparation and installation guides realistic timeline development. Buffer time allowances address unexpected conditions without derailing overall schedules.
Trade coordination sequences different preparation activities logically and efficiently. Demolition precedes detailed preparation, while surface finishing follows anchor removal and patching. Proper sequencing prevents work conflicts and rework from incorrect ordering.
Building management coordination addresses access requirements, noise restrictions, and other occupancy considerations. Operating within building rules maintains positive relationships while avoiding penalties. Communication with building managers prevents misunderstandings, disrupting project progress.
Inspection points verify preparation quality before proceeding to subsequent phases. Checking surface conditions, repair quality, and cleanliness prevents problems during fit-out installation. These quality gates catch issues when the correction remains simple.
Cost Management Strategies
A detailed scope definition prevents budget overruns from discovered conditions and scope creep. A thorough initial assessment identifies most preparation requirements before pricing. Contingency allowances address genuinely unforeseen conditions without derailing budgets.
Competitive tendering among qualified contractors ensures fair pricing for preparation work. However, price alone should not drive selection when quality directly impacts subsequent phases. Balancing cost against capability protects overall project success.
Value engineering identifies opportunities to achieve required outcomes more economically. Alternative approaches may deliver equivalent results at lower costs. Experienced contractors suggest options that owners might not consider independently.
Conclusion
Commercial fit-out success depends heavily on thorough removal and preparation preceding new installations. Investing appropriately in this foundation work prevents problems that plague projects built on inadequate preparation.
Quality preparation creates the blank canvases upon which successful commercial spaces emerge.
Professional assistance for specialised tasks, including anchor removal, hazardous material handling, and surface preparation, ensures optimal outcomes.
Expert contractors bring equipment, techniques, and experience that deliver superior results efficiently. Their involvement protects project schedules and budgets while ensuring preparation meets required standards for subsequent fit-out excellence.

.jpg)
.jpg)